January 26, 2025

How to create an AI assistant for business in 3 simple steps
Creating an AI assistant for your business on your own may seem like a difficult task. But if you choose the right service, you can avoid difficulties.
If you plan to do this yourself — Pleep is the best option. This service is specifically created for entrepreneurs who want to create and integrate an AI agent into their business themselves. You don't need to know anything about AI (you won't even have to write a prompt).
Step 1: Registration
Register via this link. It has a built-in promo code that gives you 3 days of trial period. Without it, you won't be able to create an AI assistant without payment.
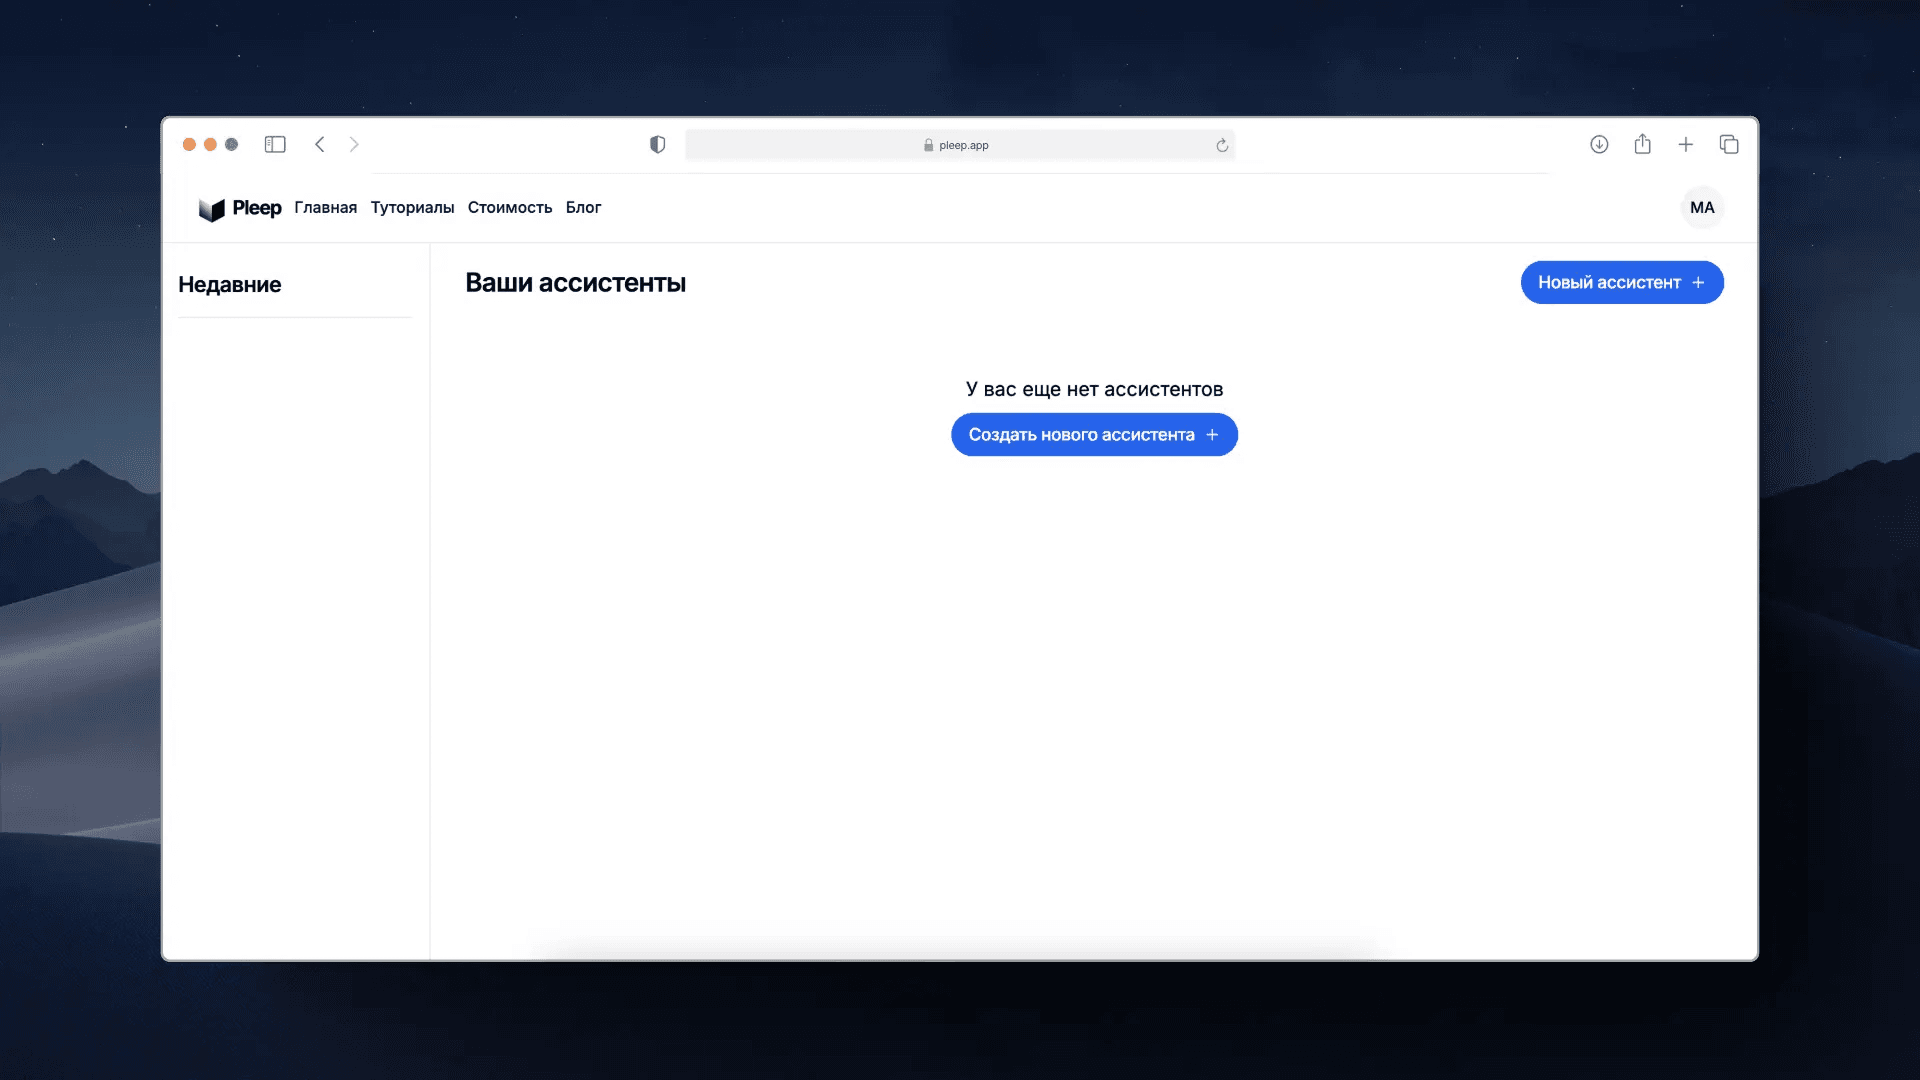
After registration, you'll see a screen similar to the one below. Click the New Assistant button.
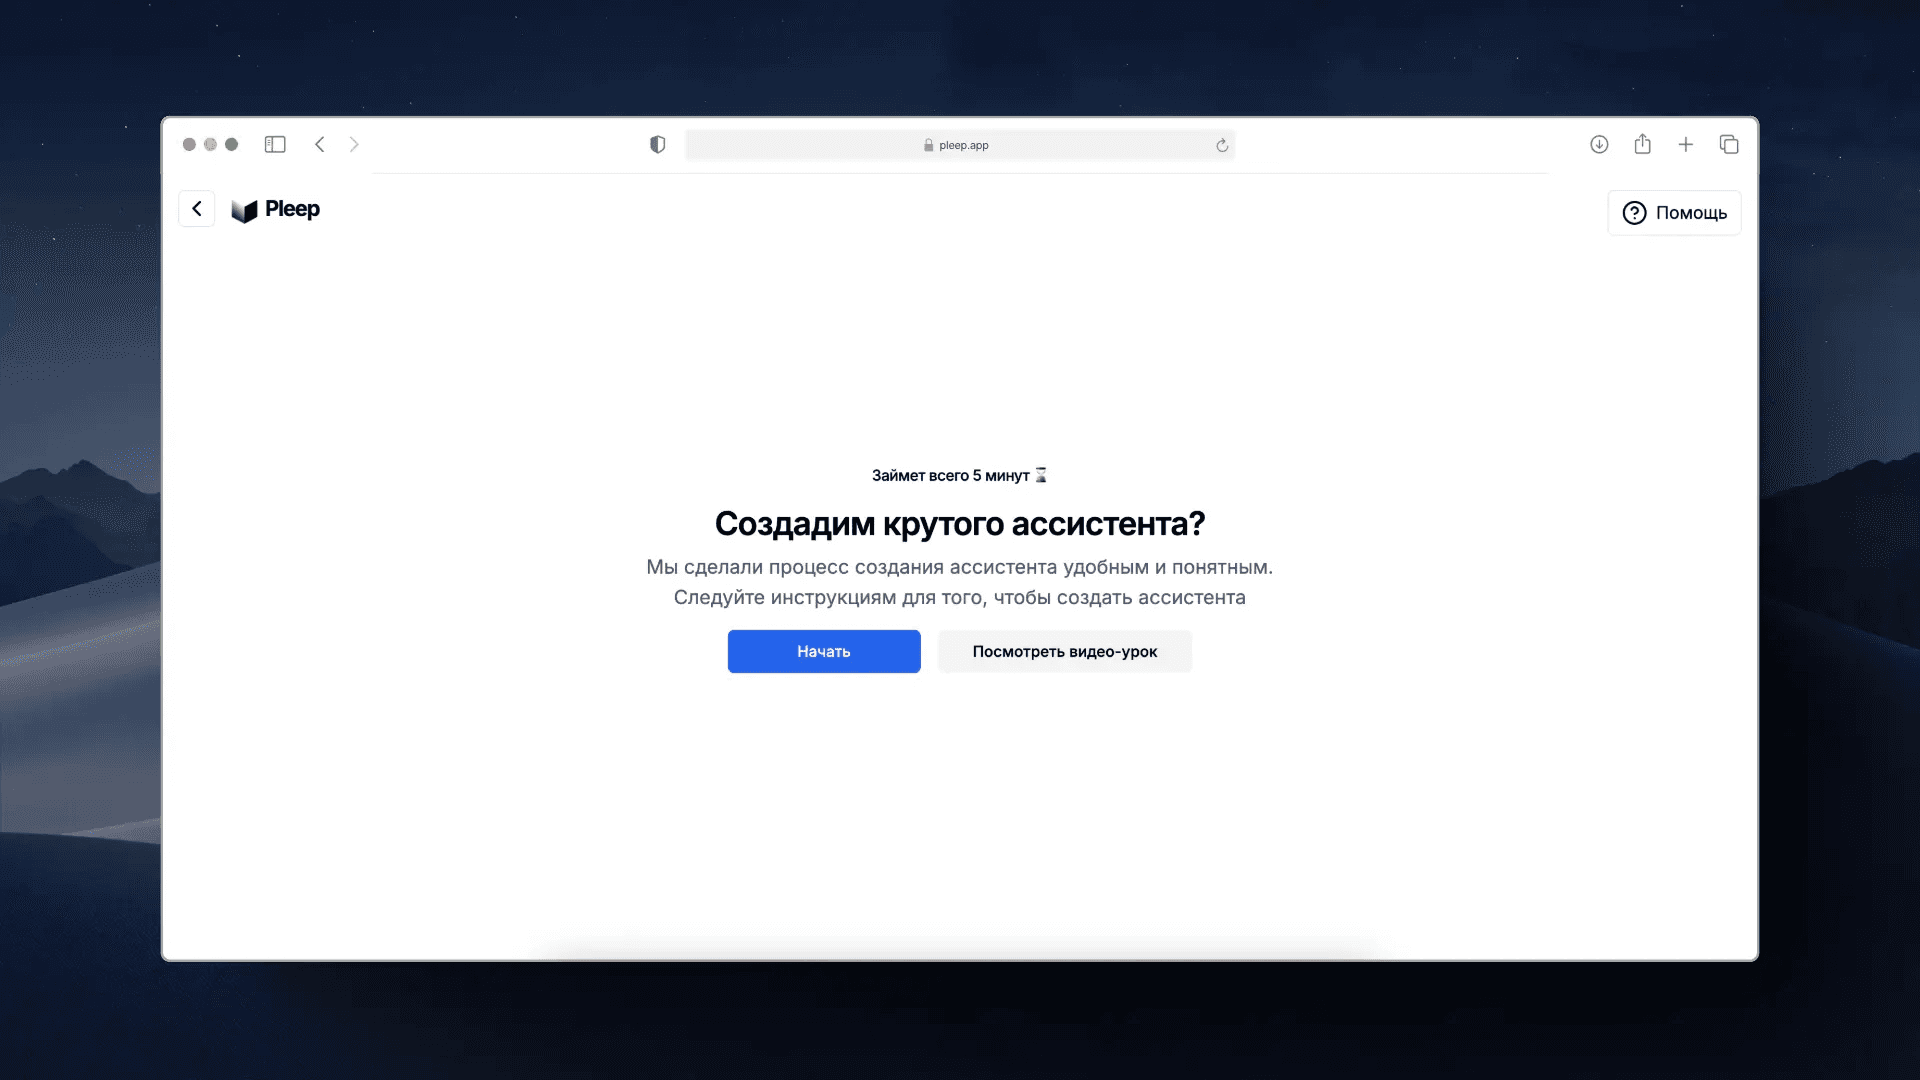
Step 2: Creating the assistant
Next, you'll need to answer 7 questions about your business. After that, Pleep will automatically create a prompt, select a model and configure it so your AI assistant works great out of the box.
After you answer all the questions, click the Create Assistant button.
Congratulations! Your AI assistant is almost ready to work. All you have left to do is upload the knowledge base, test the AI assistant and, if necessary, make the needed adjustments. Let's figure out how to do this.
Step 3: Setting up the knowledge base
When creating the AI assistant, we configured its logical behavior — exactly how it should build a dialogue with the client and communicate with them. Now the AI assistant needs contextual information about your business (service prices, product catalog, your company's advantages, and so on).
To do this, go to the Knowledge Base section.
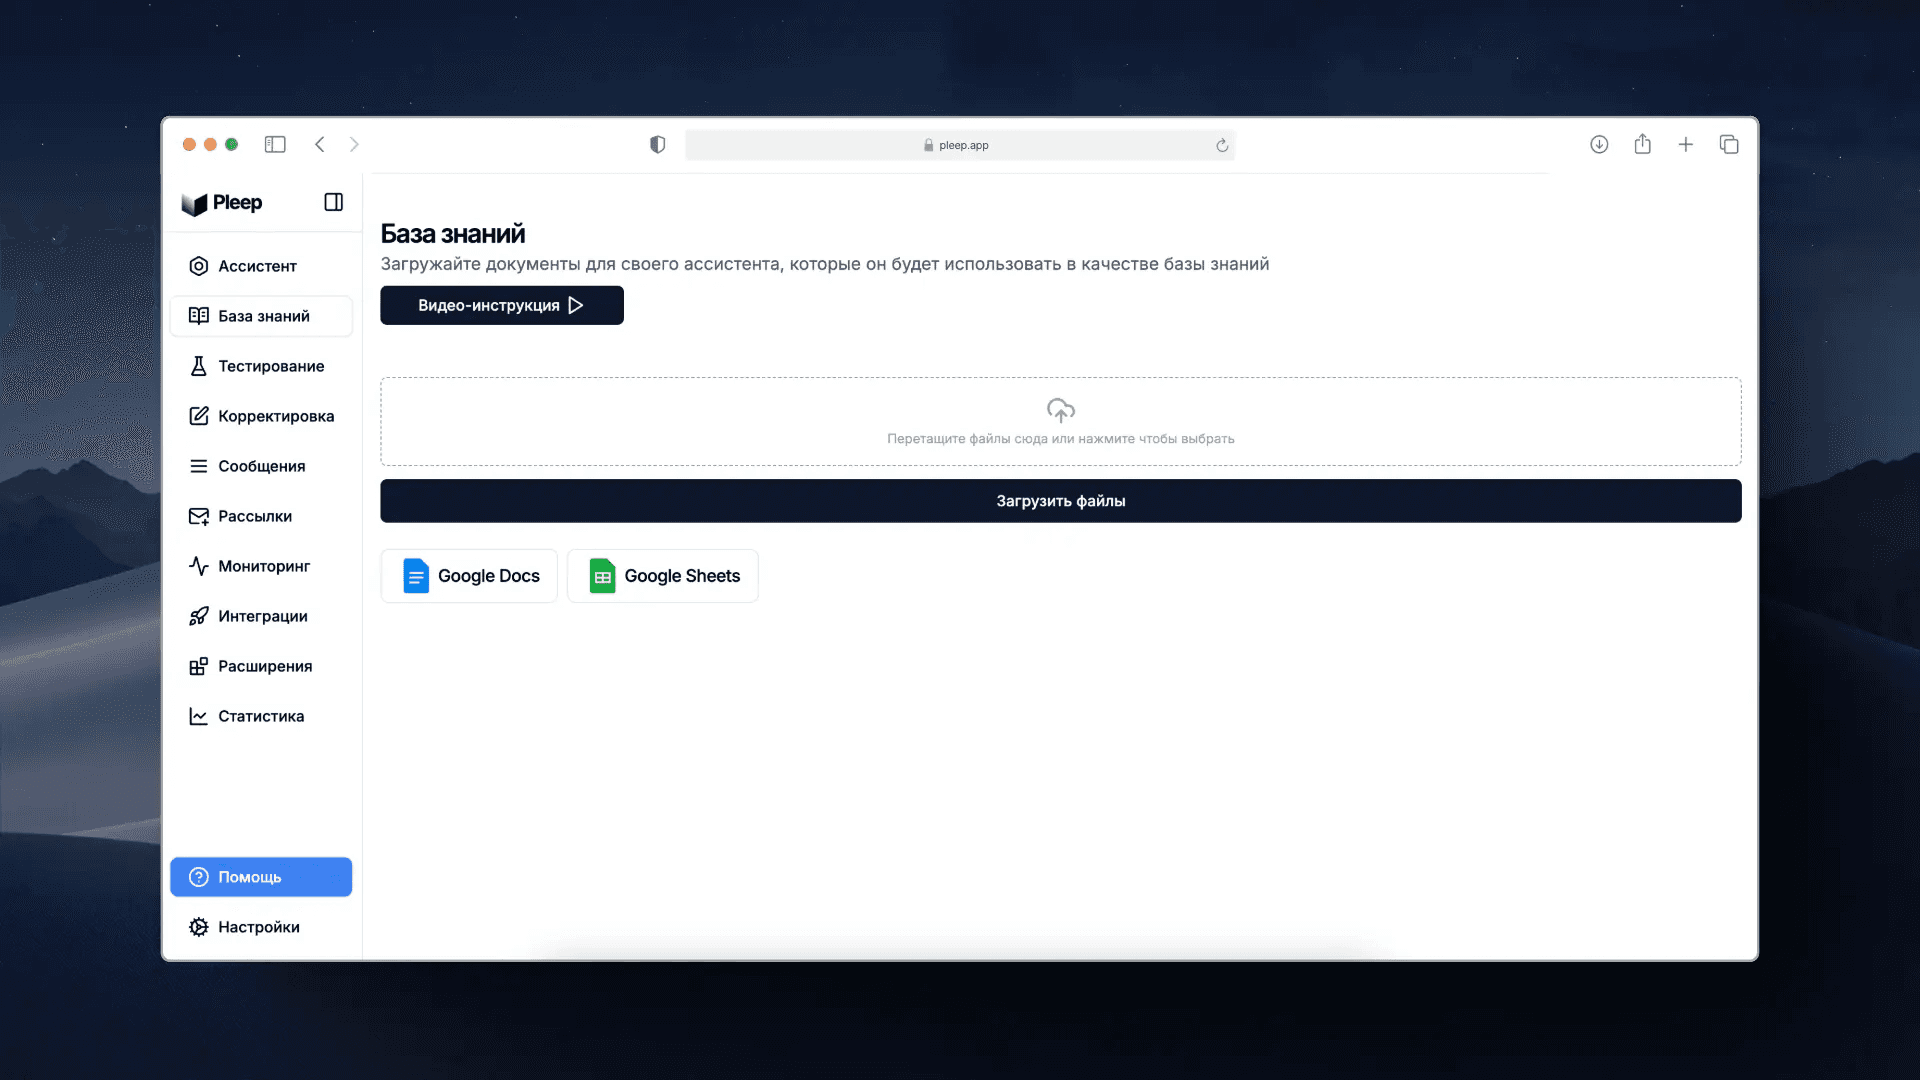
Here you can upload documents that will be available to your AI assistant. We recommend connecting Google Docs or Google Sheets for automatic data synchronization. When you link these documents, every time you make changes to the document, the assistant will automatically update its knowledge base.
Testing the assistant
After you've uploaded documents to the knowledge base — it's time to test your assistant. Select the Testing section in the left navigation menu.
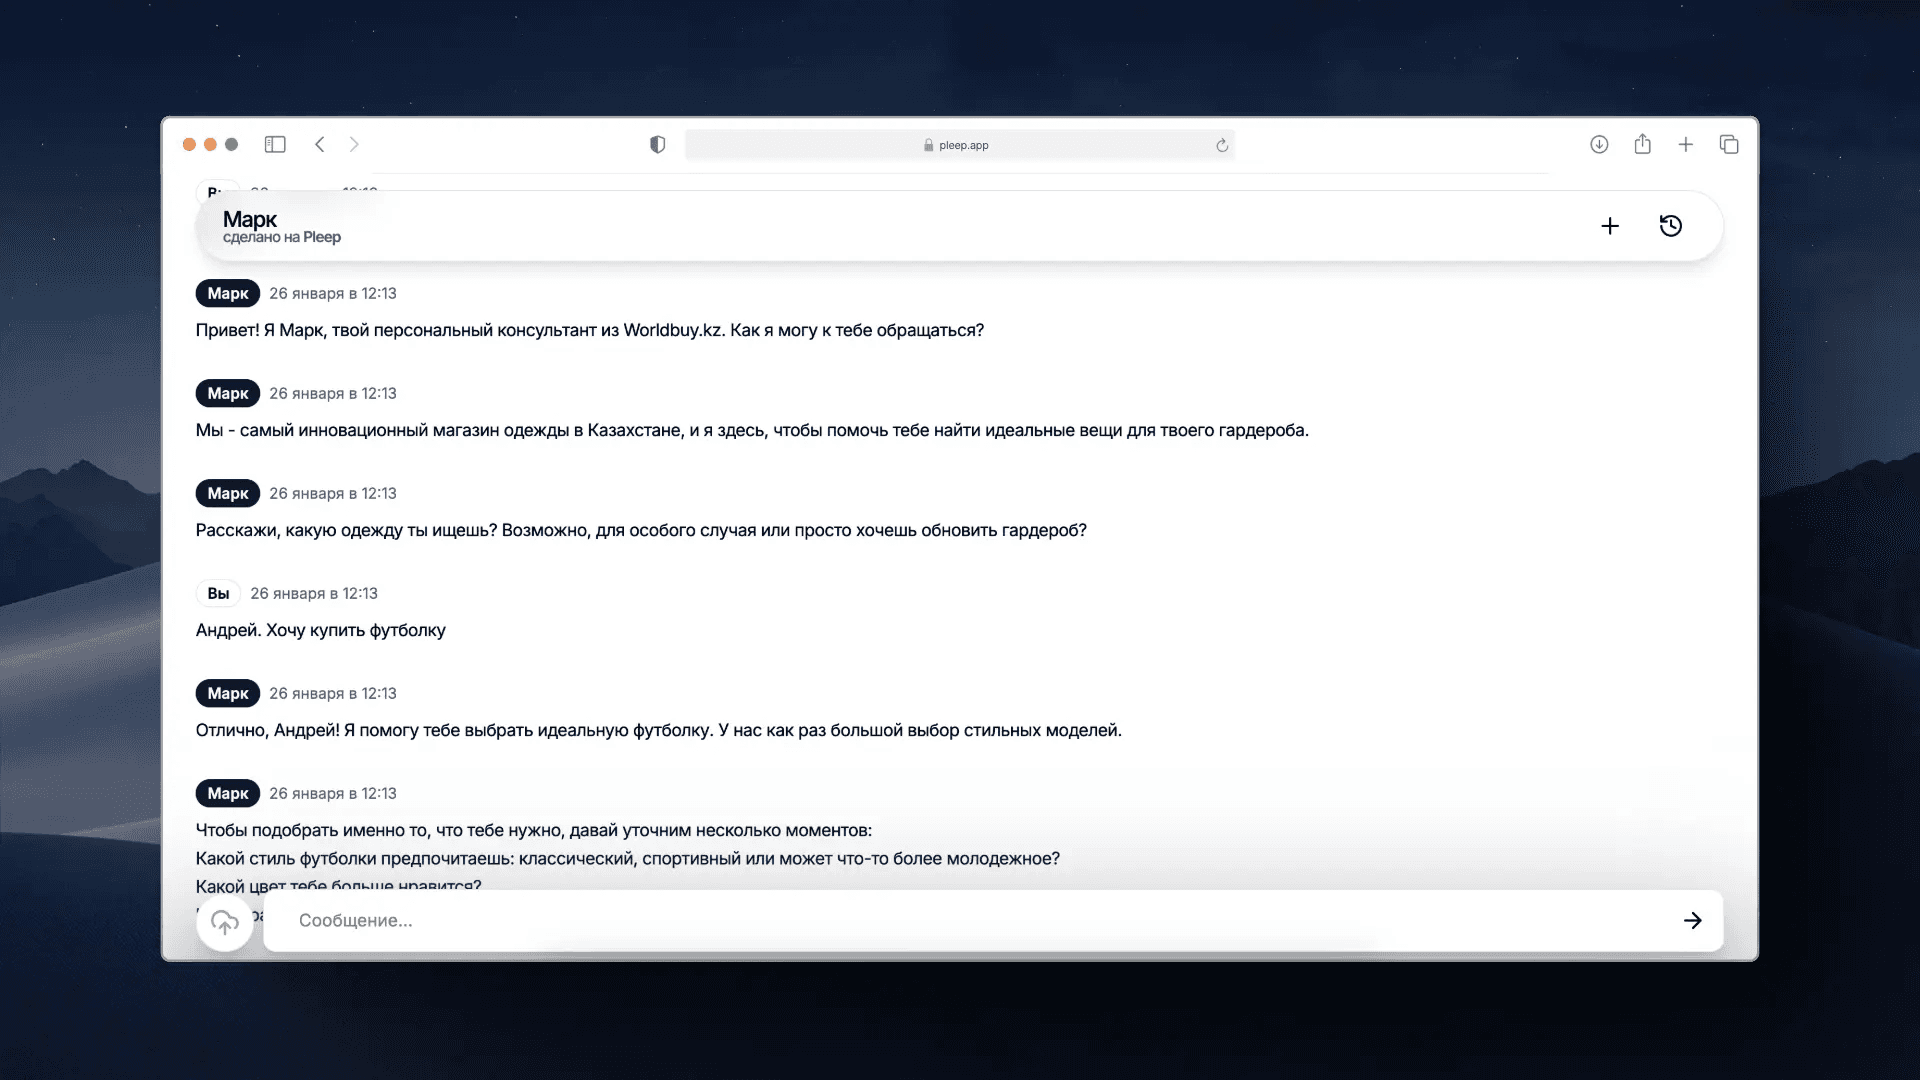
Communicate with the AI assistant as a client and identify its shortcomings. Because the next step is correction.
Behavior correction
Once you've tested the AI assistant and understood what needs to be changed in it, it's time to make the first correction. A cool feature of Pleep — you don't need to edit the prompt for this. Go to the Correction section.
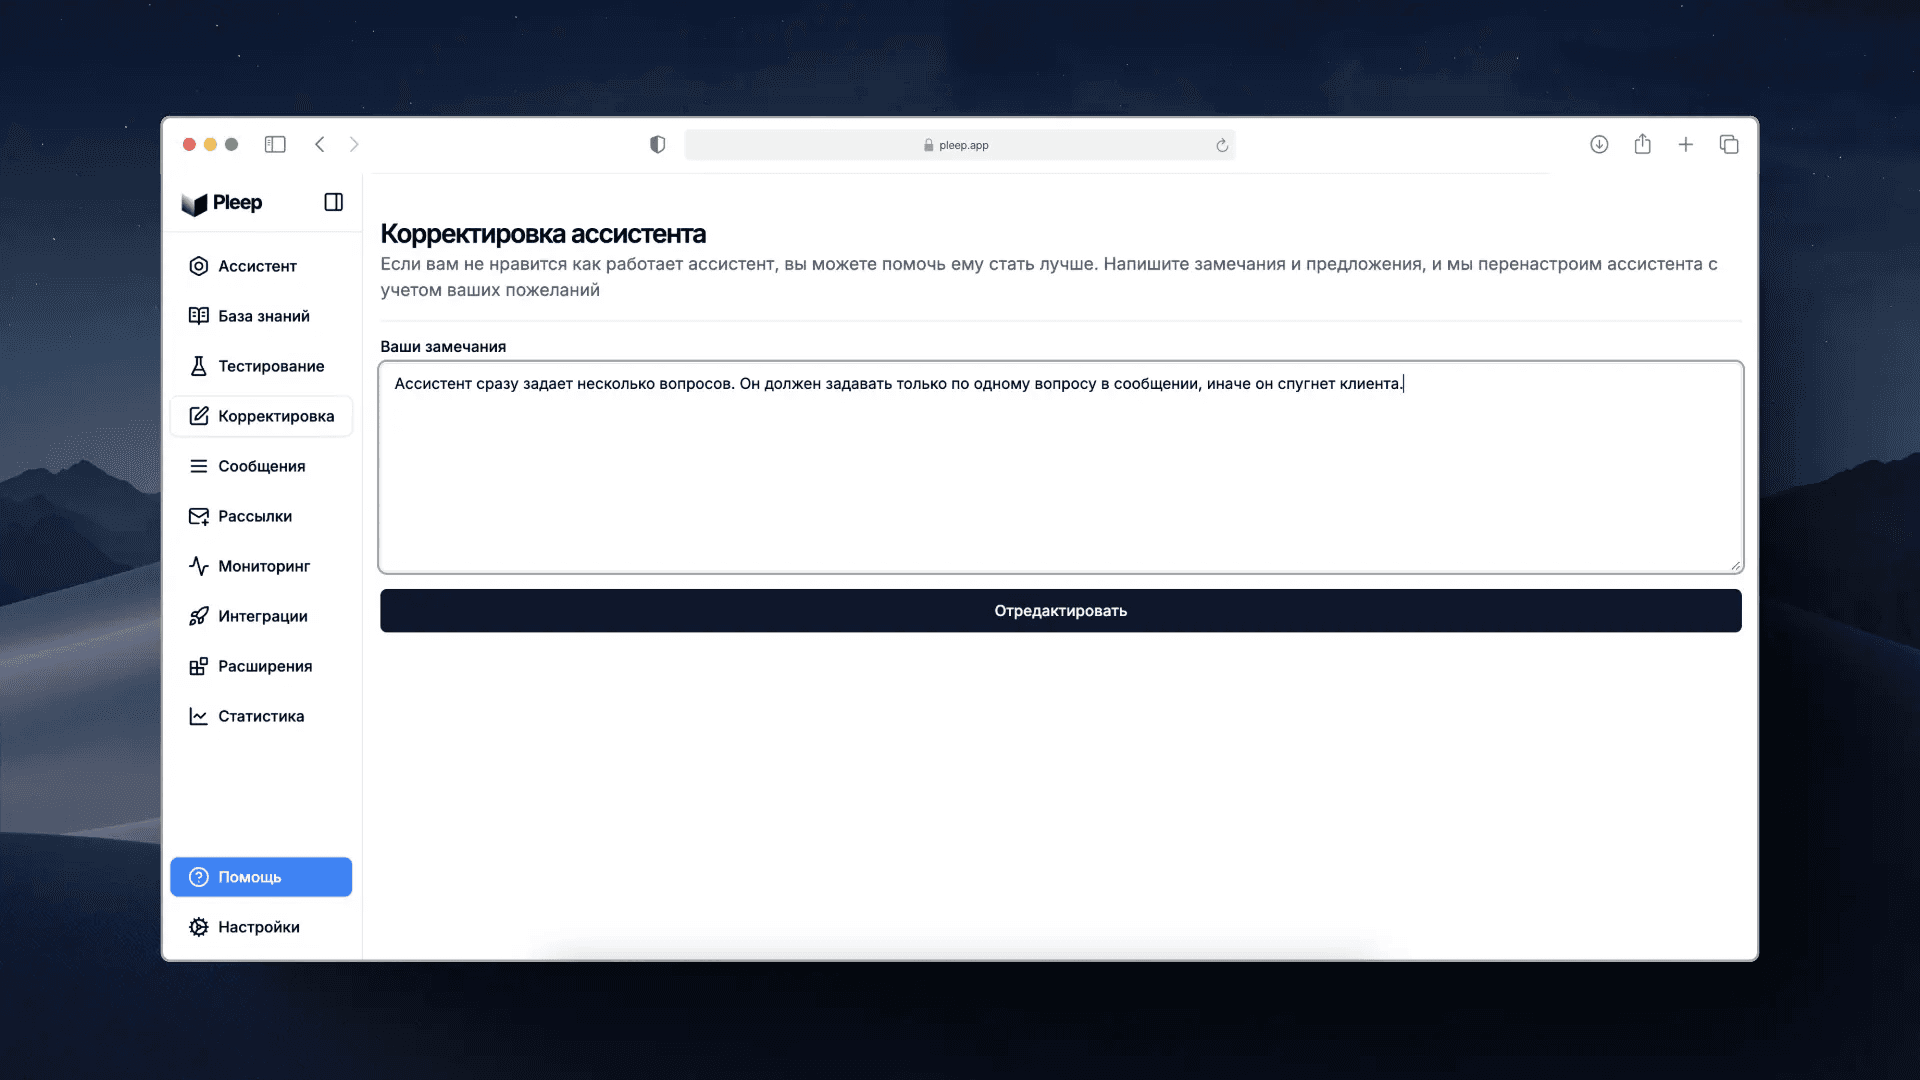
Here everything is as simple as possible — just describe in detail what doesn't suit you and how the AI assistant should actually behave. This is very similar to the criticism you give your sales manager — the more detailed, the better. At the end, click the Edit button, and Pleep will reconfigure the AI assistant based on your comments.
Integration with communication channels
If you've fully tested your AI assistant and made all necessary corrections, then it's time to integrate it into the needed communication channels. Go to the Integrations section.
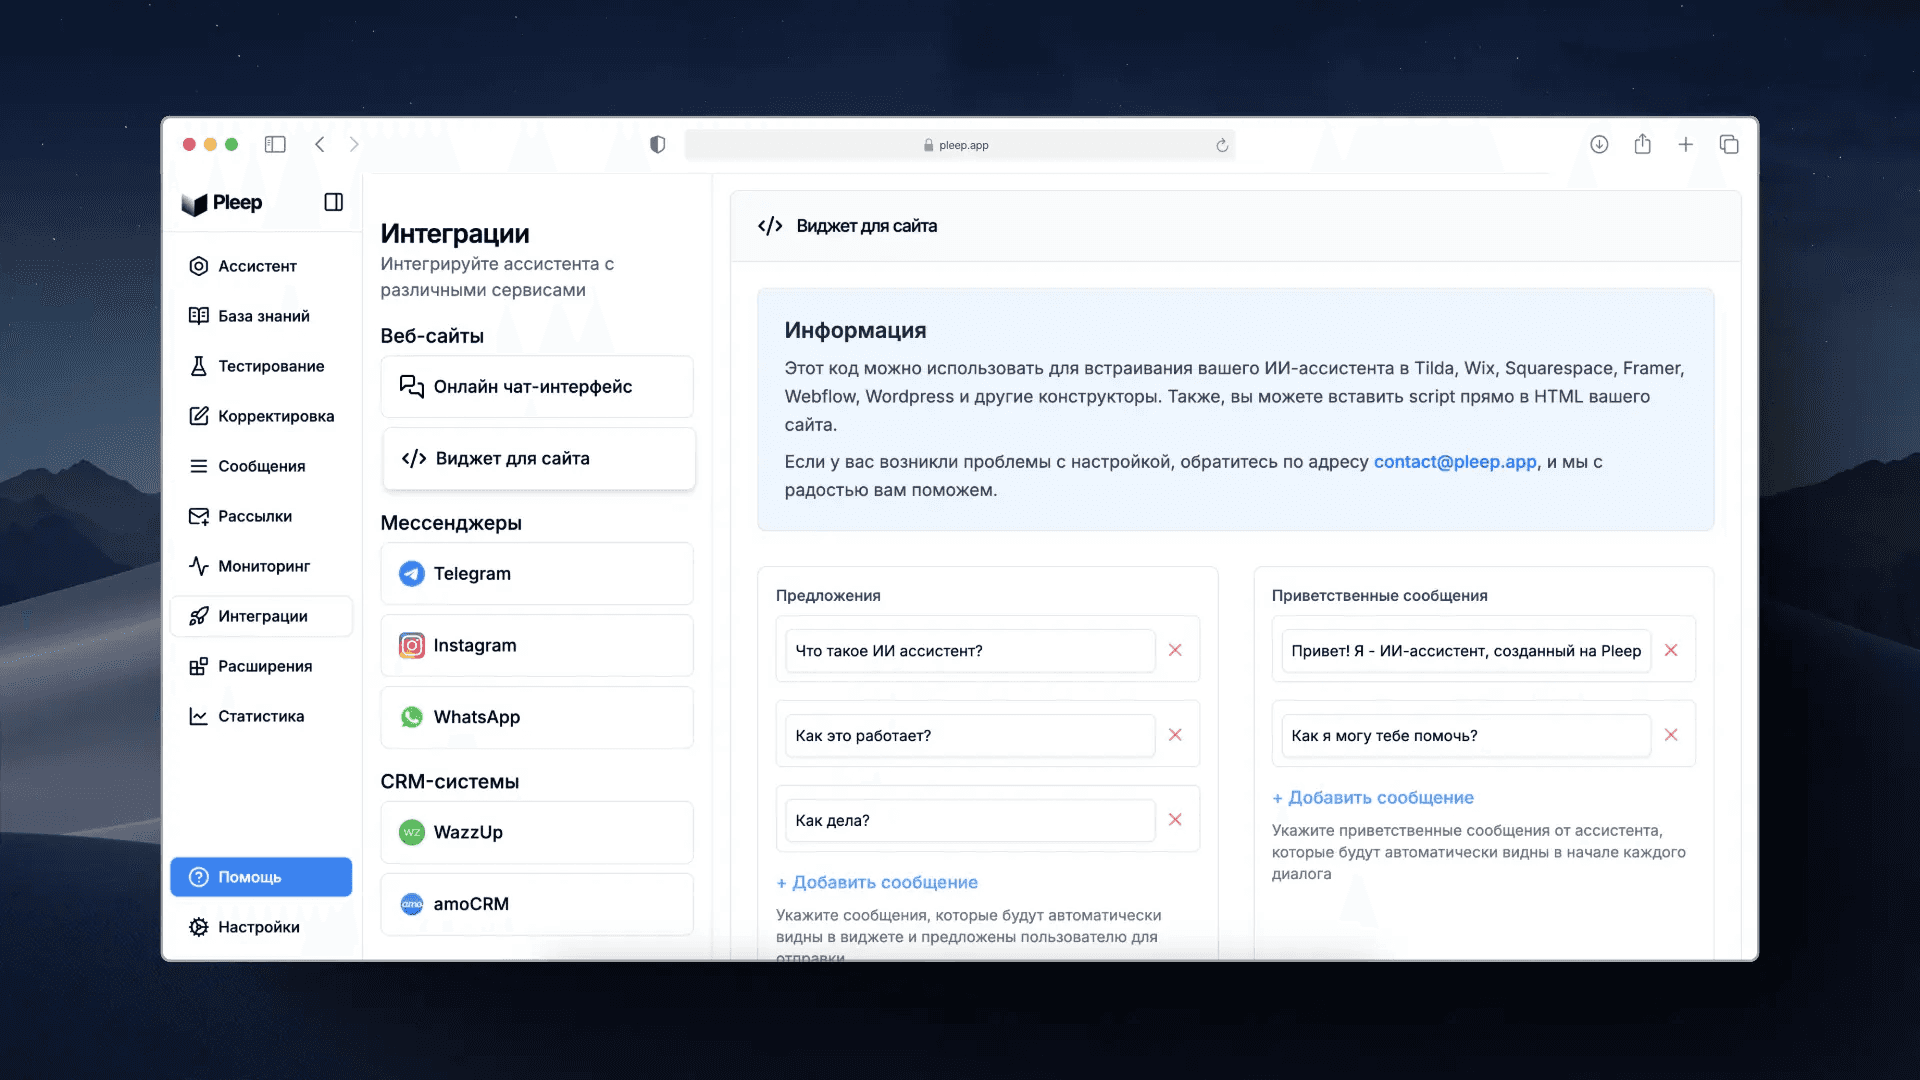
In the list, select the needed communication channels and integrate your AI assistant into them. Integration happens in a couple of clicks, and for each case there's a video tutorial that you'll find right inside the service.
Done — your AI assistant has already started serving your clients. See you soon!
Create your AI assistant today on Pleep service via this link and get 3 days of trial access.
Written by:
Ayan Smagul
Growth Marketing Specialist
Share with friends:
